What is BLTouch and Why Use it on Tevo Tarantula Pro?
The BLTouch is an automated bed leveling sensor, rapidly gaining popularity among 3D printing enthusiasts. It’s a marvel of engineering, employing a small probe that extends and retracts to measure the distance between the nozzle and the print bed at various points. This data is then used to compensate for any imperfections in the bed’s surface, ensuring a consistent and level first layer, which is the cornerstone of a successful print. Installing a BLTouch on your Tevo Tarantula Pro is a significant upgrade, transforming a manual process into an automated one, and dramatically improving print quality and ease of use. Forget the painstaking process of manual bed leveling; the BLTouch handles it all with impressive precision.
Benefits of Using BLTouch on Tevo Tarantula Pro
Upgrading your Tevo Tarantula Pro with a BLTouch offers a wealth of advantages that directly translate into a better 3D printing experience. The most significant benefit is improved print quality. The BLTouch ensures the first layer is perfectly adhered to the bed, minimizing issues like warping, adhesion problems, and inconsistent layer lines. It also greatly reduces the need for manual bed leveling, saving you time and frustration, and makes the printing process much more streamlined. Furthermore, the BLTouch allows you to print on slightly uneven surfaces, extending the life of your bed surface and nozzle, and it offers a more consistent and reliable printing experience, especially beneficial for beginners who are new to 3D printing.
Preparing Your Tevo Tarantula Pro for BLTouch Installation
Before you start the installation process, it’s crucial to prepare your Tevo Tarantula Pro. This involves ensuring the printer is powered off and unplugged, removing any existing bed leveling probes or sensors if present, and gathering all the necessary tools and components. Clean the printer’s frame and the area around the hotend and bed for easier access and a cleaner workspace. It’s also advisable to familiarize yourself with your printer’s control board and firmware version, as this information will be important during the wiring and firmware configuration stages. Preparing your printer will streamline the installation and minimize potential issues during setup.
Gathering Necessary Tools and Components
To successfully install a BLTouch on your Tevo Tarantula Pro, you’ll need a few essential tools and components. Besides the BLTouch sensor itself, which usually comes with its own mounting bracket, you will require screws and nuts suitable for attaching the sensor to your printer’s frame. You’ll also need jumper wires, specifically Dupont connectors, to connect the BLTouch to the control board. A small Phillips head screwdriver and possibly a hex key set will be needed for various tasks. Furthermore, you’ll need access to a computer and a USB cable to flash the new firmware to your printer. Double-check that you have all the necessary items before proceeding with the installation to avoid delays or interruptions.
Step-by-Step BLTouch Installation Guide
This section guides you through the detailed installation process. Follow these steps meticulously to ensure successful integration of the BLTouch with your Tevo Tarantula Pro. The procedure involves mounting the sensor, wiring it correctly, configuring the firmware, and performing the necessary calibrations. Accuracy is key, so take your time and double-check each step to guarantee that your BLTouch works as intended. Refer to the specific instructions included with your BLTouch kit and, if possible, consult online tutorials or videos, as visual aids can be beneficial during this process. Proper installation is fundamental for the sensor’s correct functionality and reliability.
Mounting the BLTouch Sensor

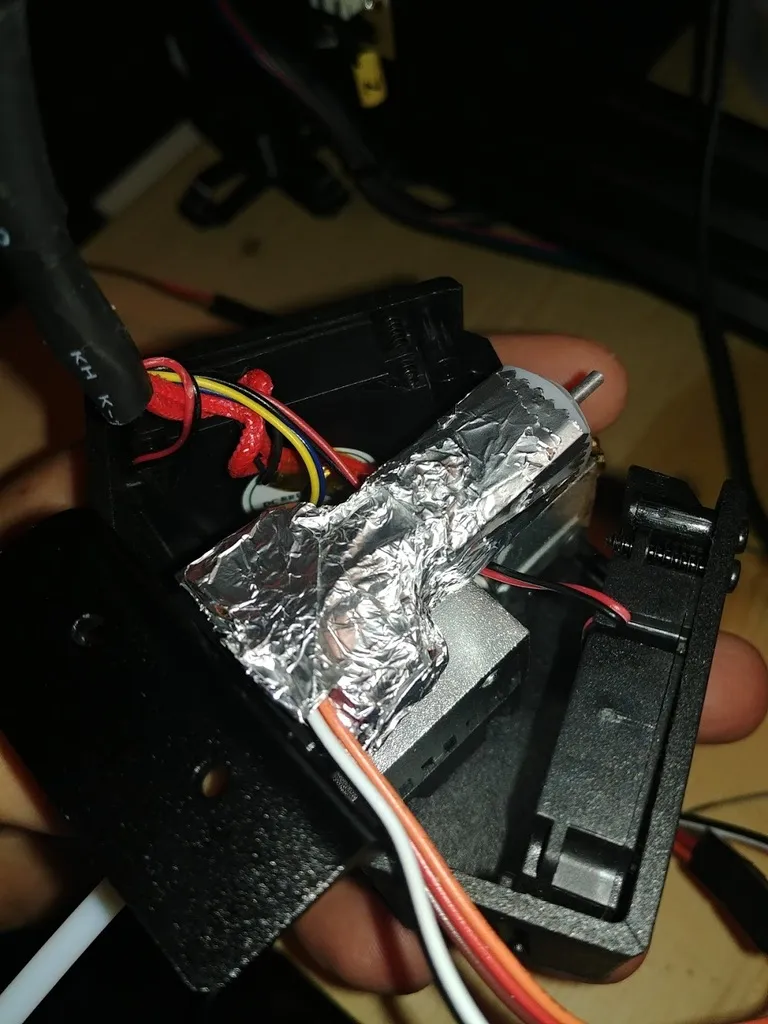
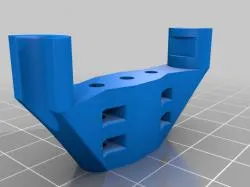
The mounting of the BLTouch sensor is one of the most crucial steps in the installation. Generally, the BLTouch is mounted to the printer’s hotend carriage, ensuring that the probe extends below the nozzle. Use the provided bracket and screws to secure the sensor, ensuring it is properly aligned and does not interfere with the nozzle or the printer’s movement. The correct positioning is essential for accurate bed leveling, and careful alignment will save you from potential issues during printing. Before tightening the screws completely, make sure the sensor is aligned in a way that the probe can deploy and retract without obstructions.
Wiring the BLTouch to Your Tevo Tarantula Pro
Wiring the BLTouch involves connecting the sensor to your printer’s control board. The BLTouch usually has three or five wires depending on the model. These wires connect to specific pins on your control board. Commonly, you will need to connect the power wires (VCC and GND), the signal wire (often for servo control), and the Z-min endstop signal wire. Refer to your printer’s control board documentation and the BLTouch’s pinout diagram to ensure correct wiring. Incorrect wiring can damage either the BLTouch or the control board, so double-check each connection before powering on the printer. Once wired, secure the cables neatly to avoid interference with the moving parts.
Firmware Configuration for BLTouch
Configuring the firmware is a critical step, as it tells your printer how to interact with the BLTouch. You’ll need to modify your printer’s firmware (usually Marlin) to enable the BLTouch functionality. This involves editing the configuration.h file to enable the BLTouch sensor, specify the Z-min endstop pin, and define the probe offset. You’ll need to know the exact offset values, which can be found by measuring the distance between the nozzle and the probe when deployed. It also involves adjusting settings like the probe speed and the number of points used for bed leveling. Incorrect configuration will render the BLTouch inoperative, so take your time and review each setting.
Flashing the Firmware

After configuring the firmware, you need to flash it onto your printer’s control board. This process involves connecting your printer to your computer via USB, opening the Arduino IDE or your preferred firmware flashing software, and selecting the correct board and COM port. Upload the modified firmware to your printer. Ensure that you select the correct board and bootloader to prevent any errors during the flashing process. The firmware flashing process may take a few minutes, and it is important not to interrupt this process. Once the firmware is successfully flashed, you can proceed with testing and calibration.
Configuring Z-Offset
The Z-offset is the critical distance between the BLTouch probe and the nozzle when the probe triggers. You must accurately measure and set this value in your printer’s firmware or through the printer’s control panel. This offset ensures that the nozzle is at the correct height relative to the bed when printing. To determine the Z-offset, you can use a piece of paper to set the nozzle height, trigger the BLTouch, and then measure the distance between the nozzle and the bed. Input this value as the Z-offset in your printer’s settings. Accurate Z-offset calibration is fundamental for proper first layer adhesion.
Testing and Troubleshooting Your BLTouch
After installation and configuration, testing the BLTouch is crucial. Use your printer’s control panel to test the sensor by manually deploying and retracting the probe. Run a bed leveling test to ensure that the sensor is correctly reading the bed’s surface. If the probe does not deploy or retract, or the readings are inconsistent, check the wiring, firmware settings, and sensor alignment. Common troubleshooting steps include verifying the power supply, ensuring the correct wiring, and checking for any physical obstructions preventing the probe from moving freely. Refer to online resources or forums for additional troubleshooting tips.
Calibrating the Bed Level

Bed level calibration with the BLTouch is essential for ensuring your prints adhere properly to the bed. After the BLTouch is installed and tested, run a bed leveling process through your printer’s menu. During this process, the BLTouch will probe the bed at several points, creating a mesh of data that the printer then uses to compensate for any unevenness. Ensure that the bed is clean, and that the nozzle has enough clearance to start printing. You may need to adjust the Z-offset during this process for optimal results. Once the calibration is complete, you can start printing and enjoy the benefits of automatic bed leveling.
First Print with BLTouch
Once the BLTouch is installed, configured, and calibrated, it’s time for your first print. Load a test print or a simple object that you want to print, and ensure that your slicing software (like Cura or PrusaSlicer) is configured to use the bed leveling data. Start the print and observe the first layer. If the first layer sticks well and appears consistent, the BLTouch is working correctly. If there are issues with adhesion or the layer appears uneven, recheck the Z-offset, bed leveling settings, and the bed surface. With a correctly configured and calibrated BLTouch, your first print should be a success and demonstrate the advantages of automatic bed leveling.
Common Issues and Solutions
Several issues can arise during the installation and use of a BLTouch. Common problems include incorrect wiring, inaccurate Z-offset calibration, and firmware configuration errors. If the BLTouch doesn’t deploy or retract, check the wiring and power supply. If the probe doesn’t read the bed surface accurately, re-calibrate the Z-offset. Furthermore, ensure your firmware settings are correct and that the sensor is correctly configured in your slicer. Regularly consult online resources, such as forums or tutorials, as these often provide troubleshooting tips for specific problems. A systematic approach and patience are essential when troubleshooting issues.
Maintaining Your BLTouch System

Proper maintenance extends the lifespan of your BLTouch and ensures accurate bed leveling. Regularly inspect the probe for any damage and ensure it moves freely. Clean the probe tip from any accumulated filament or debris. Avoid touching the probe with your hands or any sharp objects, as this can damage it. Periodically check the wiring connections to make sure they are secure and not frayed. A little care and attention to detail will keep your BLTouch in good working condition.
Regular Calibration and Maintenance
Regular calibration and maintenance are key for optimal performance and longevity of your BLTouch system. Re-calibrate the bed leveling periodically to account for any bed surface changes. Inspect and clean the probe tip regularly. Check wiring connections. Performing these simple maintenance tasks helps to ensure that your prints continue to be consistent and of high quality. By following these steps, you can keep your Tevo Tarantula Pro running smoothly and printing accurately for years to come.
In conclusion, installing a BLTouch on your Tevo Tarantula Pro is a valuable upgrade that enhances the 3D printing experience. The automated bed leveling capabilities of the BLTouch greatly improve print quality, reduce manual adjustments, and provide a more consistent and reliable printing workflow. By following the detailed steps outlined in this guide, you can successfully install, configure, and maintain a BLTouch, ultimately improving the quality and ease of use of your 3D printing setup. Enjoy your prints!