Choosing the Right Marlin Firmware
Selecting the correct Marlin firmware is the crucial first step for your Tevo Tarantula. This open-source firmware provides advanced control over your 3D printer, enabling features like improved print quality, custom settings, and enhanced performance. However, choosing the wrong version can lead to compatibility issues and potential damage to your printer. It is essential to ensure you download the appropriate version for your specific Tevo Tarantula model and its hardware configuration. This involves understanding the various Marlin releases and identifying the one that best suits your needs. Consider factors like your printer’s mainboard, the presence of a heated bed, and any add-ons you’ve installed, such as auto-leveling sensors. Always back up your current firmware before making any changes to prevent data loss and the need to revert if something goes wrong during the installation process. Careful consideration from the outset is the cornerstone of a successful firmware upgrade and will maximize your chances of a smooth and rewarding 3D printing experience.
Understanding Marlin Firmware Versions
Marlin firmware is constantly evolving, with different versions offering various features and bug fixes. There are typically stable and development versions. Stable versions are recommended for most users as they are thoroughly tested and less likely to contain major issues. Development versions, on the other hand, offer the latest features but may also come with bugs. When choosing a version, check the release notes and community forums to understand the changes and potential issues. Consider the hardware components of your Tevo Tarantula, especially the mainboard, to ensure compatibility. If you have a specific feature or modification you want to use, research which version supports it. Keep in mind the frequency of updates; older versions might lack important features, whereas the newest versions may require more complex configuration. Always research before deciding which Marlin version to flash to your printer, ensuring it aligns with your specific model and requirements.
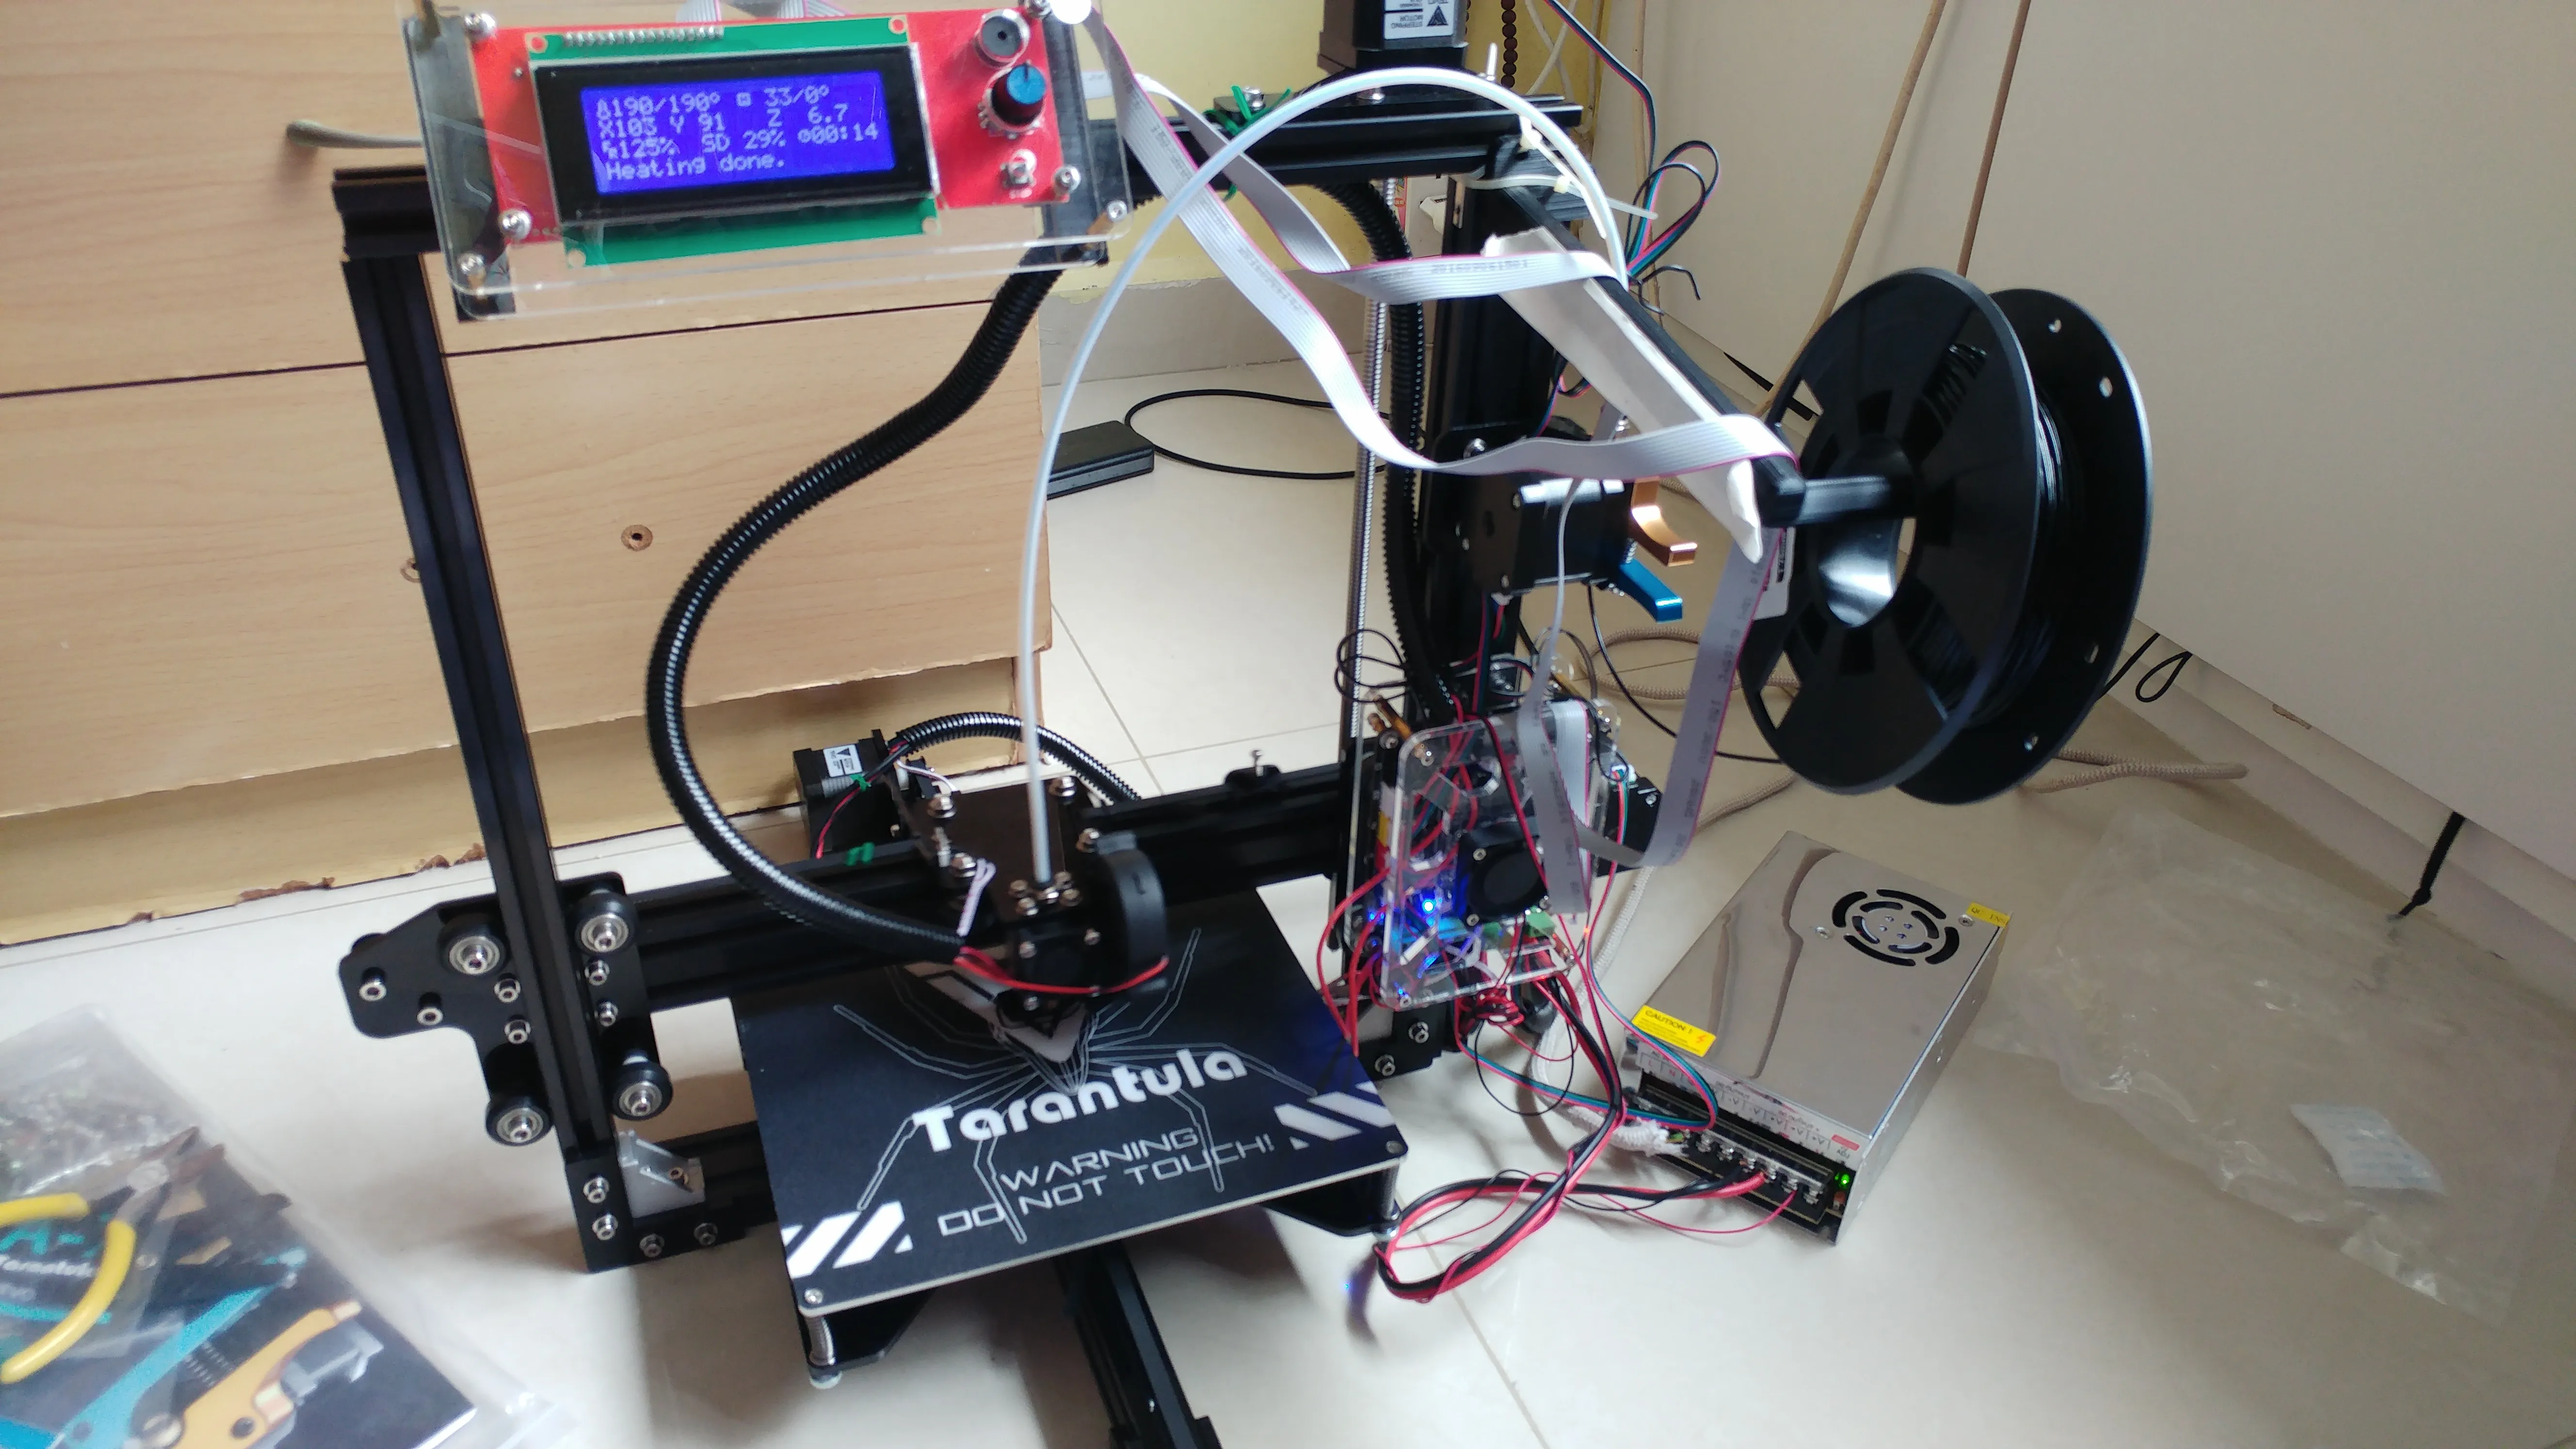
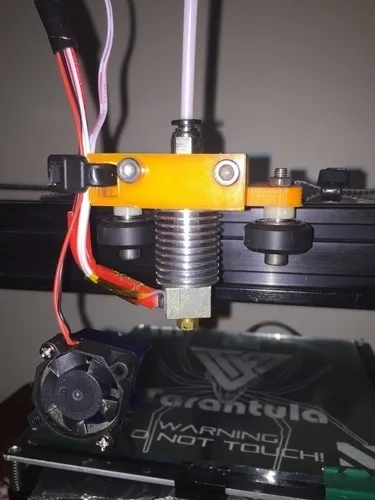
Identifying Your Tevo Tarantula Board
Before you start the firmware installation, you must identify your Tevo Tarantula’s mainboard. The mainboard is the central control unit of your 3D printer, and it dictates the firmware’s compatibility. Common mainboards used in Tevo Tarantula models include the Melzi board and various others, often based on Arduino designs. Inspect the mainboard directly, looking for any markings or labels that indicate its manufacturer and model. You might need to open the printer’s control box to access the board. Online resources, such as forums and manufacturer documentation, can provide valuable information on identifying your board if the markings are unclear. Knowing your mainboard is essential as it determines the firmware configuration settings you’ll need to apply. Incorrect settings can lead to printer malfunctions and printing errors. Refer to the board’s specifications to determine the correct drivers, pins, and settings within the Marlin firmware to ensure everything works correctly.
Configuring Marlin Firmware for Tevo Tarantula
Configuring Marlin firmware involves customizing the settings to match your printer’s specifications and the desired functionality. This process requires using the Arduino IDE to open and modify the firmware code. The configuration.h file is where most of the customization takes place. You’ll need to uncomment specific lines or change the values of certain parameters to define your printer’s hardware, such as the bed size, the type of thermistors, and the stepper motor drivers. The configuration_adv.h file offers more advanced settings, including features like linear advance and advanced power management. Take your time going through each setting and ensure it matches your printer’s components and the features you want to use. Backing up your configuration files is crucial; that way, you can easily restore your settings if something goes wrong. You should also carefully research each setting before modifying it to avoid problems during printing.
Downloading and Installing Arduino IDE
The Arduino IDE (Integrated Development Environment) is essential for flashing Marlin firmware onto your Tevo Tarantula. You can download the latest version of the Arduino IDE from the official Arduino website. Make sure to select the appropriate version for your operating system (Windows, macOS, or Linux). Once downloaded, follow the installation instructions. During installation, you might be prompted to install drivers for your printer’s mainboard. These drivers allow the IDE to communicate with your printer. After installation, open the Arduino IDE and configure it to work with your board. You will need to select the correct board type from the ‘Tools’ > ‘Board’ menu. You will also need to select the correct COM port to which your printer is connected. After the IDE is fully installed and configured, you’re ready to upload the firmware. Ensure you have the correct drivers installed to avoid communication problems. If the IDE fails to connect, check the port selection and the drivers.
Installing Necessary Libraries
Marlin firmware often requires specific libraries to enable certain features and hardware support. Before compiling the firmware, you must install these libraries in the Arduino IDE. Go to ‘Sketch’ > ‘Include Library’ > ‘Manage Libraries’. In the Library Manager, search for libraries that Marlin firmware needs, such as ‘U8glib’ for graphical LCD support and others related to your printer’s specific components. Install the required libraries and make sure they are up to date to prevent compilation errors. Ensure all necessary libraries are installed to avoid potential errors during the compilation process. Keeping libraries updated ensures you have the latest bug fixes and compatibility improvements. Incorrect or missing libraries can prevent Marlin from compiling and uploading successfully to your Tevo Tarantula.
Configuring Configuration.h
The configuration.h file is at the heart of customizing Marlin firmware. Open this file in the Arduino IDE to start making changes. Start by setting the board type to match your Tevo Tarantula’s mainboard. Then, configure the printer’s dimensions, including the bed size, the number of extruders, and the thermistor types used for the hotend and heated bed. You must set the correct settings for the thermistors to ensure accurate temperature readings. You should also enable or disable features like auto-bed leveling, linear advance, and other advanced functionalities. Before uploading the firmware, double-check all configurations to prevent errors during printing. It is also essential to save your configuration and document any changes made for easy reference and future modifications. Careful attention to the configuration.h settings is critical to ensure your printer operates correctly and safely.
Calibrating Your 3D Printer
After installing and configuring Marlin firmware, calibrating your 3D printer is essential. Calibration ensures that your printer can accurately and consistently produce high-quality prints. The calibration process involves several steps, including bed leveling, setting the Z-offset, calibrating the extruder, and fine-tuning the PID values for the hotend and heated bed. Start by carefully leveling the print bed to ensure the first layer of your print adheres correctly. After that, set the Z-offset, which determines the distance between the nozzle and the print bed when printing the first layer. Calibrating the extruder helps to ensure the correct amount of filament is extruded. The PID tuning optimizes the temperature control for your hotend and heated bed. Properly calibrating your printer will significantly improve print quality and overall printing success.
Leveling the Bed
Leveling the print bed is an essential part of the calibration process. A level bed ensures that the first layer of your print adheres to the bed and is consistent across the entire print area. There are several methods for leveling the bed. The manual method involves adjusting the bed leveling screws at each corner while using a piece of paper between the nozzle and the bed. The goal is to achieve a slight resistance when pulling the paper. If your printer has auto-bed leveling (ABL), the process is typically automated. The ABL system measures the bed’s surface and compensates for any unevenness. Regardless of the method used, perform multiple leveling checks to ensure accuracy. A poorly leveled bed can lead to warped prints, poor adhesion, and nozzle damage. It’s important to repeat this step if you change the bed surface or nozzle height.
Setting the Z-Offset
After leveling the bed, set the Z-offset correctly. The Z-offset determines the distance between the nozzle and the bed when the printer starts printing. If the Z-offset is incorrect, the nozzle will be either too close or too far from the bed. If the nozzle is too close, it can scrape the bed, causing a blockage of the nozzle. If the nozzle is too far, the first layer won’t stick to the bed. Adjust the Z-offset during printing while observing the first layer. Many printers have a setting to adjust the Z-offset in real-time through the control panel. Make small adjustments and observe the results until the first layer adheres to the bed smoothly and evenly. Getting the Z-offset right is important for print quality and adhesion. A well-calibrated Z-offset makes a big difference in your prints, leading to clean lines and fewer errors.
Testing the Firmware
After you have successfully uploaded the Marlin firmware and completed the basic calibration, it’s time to test the firmware. The best way to test your firmware is by printing a test model. Start with a small, simple model, such as a calibration cube or a bed adhesion test. Monitor the print closely during the first few layers to ensure the printer is functioning correctly. Check for issues like bed adhesion problems, extrusion problems, and incorrect temperature readings. If you find any issues, go back and check your configurations. Examine each axis movement to confirm that they are working as expected. It’s important to do these tests to make sure everything is working properly before you start your more complex printing projects. Testing helps uncover any potential problems and allows you to fine-tune the settings for better print quality.
Uploading the Firmware to Your Tevo Tarantula
Uploading the firmware to your Tevo Tarantula is a crucial step that puts all your hard work into action. Connect your printer to your computer using a USB cable. In the Arduino IDE, select the correct board and port from the ‘Tools’ menu. Verify the settings before proceeding with the upload. Then, click the upload button (usually an arrow icon) in the IDE. The IDE will compile the code and upload the firmware to your printer’s mainboard. Watch the IDE’s output window for any error messages, as they can indicate problems with your configuration. If the upload is successful, the printer’s control panel or LCD screen may change or display information about the new firmware. If the upload fails, check the connection, the board settings, and the drivers. Once the upload is complete, reset your printer to initialize the new firmware settings.
Verifying Firmware Installation
After uploading the firmware, you must verify its successful installation. Check the printer’s control panel or LCD screen for any signs of the new firmware. The display might show the firmware version or other information. Try moving the axes and testing the heating functions to ensure they function as intended. If the printer has auto-bed leveling, activate the feature to verify its operation. Run a simple print to confirm all the features work as expected. If you notice that some settings or features you enabled in the configuration.h file aren’t working, double-check the configuration to ensure the settings are correct and re-upload the firmware. Make sure the printer responds to commands and that the movements are accurate. Verifying the firmware installation is critical for ensuring all settings are working correctly and preventing errors during printing.
Troubleshooting Common Marlin Issues
Even with careful preparation, you might encounter issues with Marlin firmware. This is a common occurrence, and troubleshooting skills are essential. Common problems include bed adhesion problems, extrusion problems, temperature control issues, and communication errors between the printer and the computer. When you experience a problem, start by identifying the root cause. Check the settings, the hardware connections, and the firmware configuration to isolate the issue. Online forums and communities are valuable resources for troubleshooting. Search for solutions to common issues and ask for help if necessary. Testing and adjusting each setting one by one can help you find the source of the problem.
Dealing With Bed Adhesion Problems

Bed adhesion problems are among the most frequent issues in 3D printing. If the first layer doesn’t stick to the bed, the print will likely fail. Some common causes include bed leveling issues, incorrect Z-offset settings, and insufficient bed temperature. To address these problems, level the bed carefully and adjust the Z-offset for perfect first-layer adhesion. Make sure your bed temperature settings are appropriate for the material you are using. Ensure the bed surface is clean and free from grease or dust. Using a bed adhesive like glue stick, hairspray, or painter’s tape can improve adhesion. Experiment with different bed surfaces to find the best adhesion for your materials. By understanding and resolving adhesion problems, you can ensure prints will stay on the bed throughout the entire printing process.
Addressing Extrusion Issues
Extrusion issues result in inconsistent filament flow and can severely impact print quality. Common extrusion problems include under-extrusion (not enough filament) and over-extrusion (too much filament). Under-extrusion can be caused by a clogged nozzle, incorrect extruder settings, or low hotend temperature. Over-extrusion can be caused by incorrect settings. Adjust the nozzle temperature and filament flow settings to improve extrusion. Regularly clean the nozzle to prevent clogs. The extruder motor’s e-steps/mm setting must be calibrated correctly. If the problem persists, inspect the extruder itself for any mechanical problems. Ensure the filament is dry. Correcting extrusion problems will result in smooth, detailed prints and help you achieve the best results on your Tevo Tarantula.
Adjusting Firmware Settings for Improved Printing
Fine-tuning your Marlin firmware settings is essential for achieving high-quality prints. There are many settings you can adjust to improve print quality, printing speed, and overall performance. Settings related to temperature control for the hotend and heated bed are critical. The PID values can be calibrated to optimize temperature stability. Speed and acceleration settings impact the speed at which your printer can move and print. Linear advance is a helpful setting for improving print quality by compensating for the pressure buildup in the nozzle. Experiment with different settings and make small adjustments to optimize your printer. Keeping logs of the settings you modify can make it easier to revert if needed. Fine-tuning settings requires time and patience, but it can significantly improve your prints and give you more control over your 3D printer.