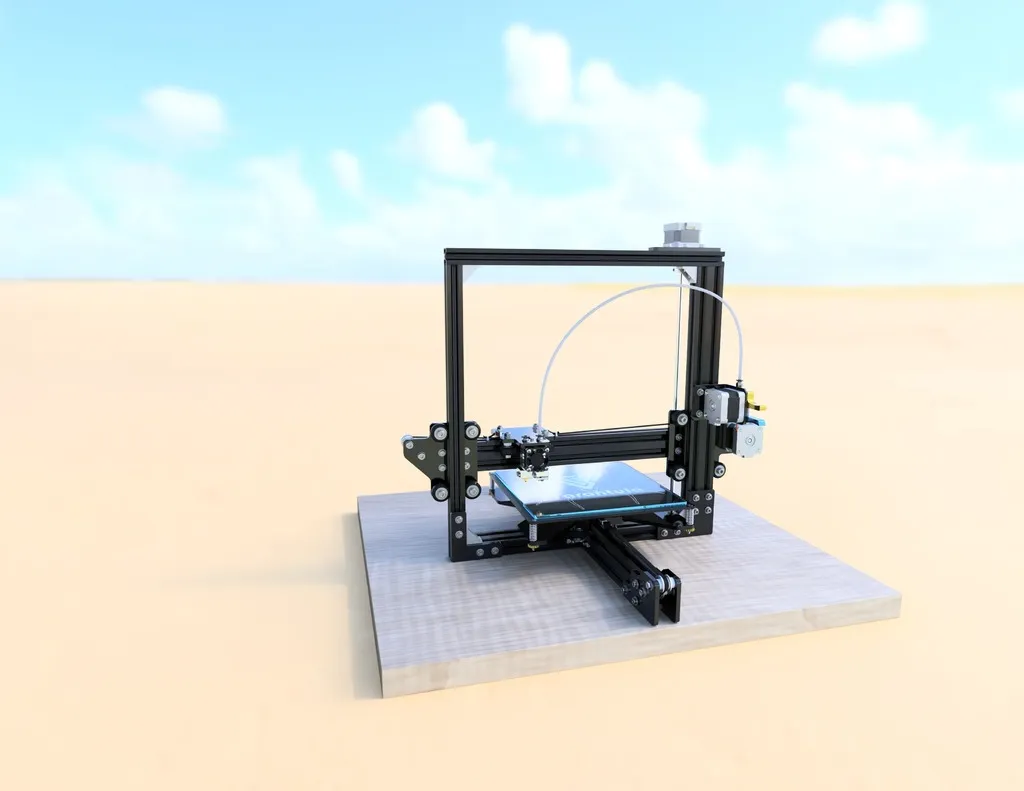
The Tevo Tarantula is a popular 3D printer, known for its affordability and ease of use. However, like all 3D printers, it can encounter various printing issues. This guide provides the top 5 troubleshooting tips to help you diagnose and resolve common problems, ensuring smooth and successful prints. From layer shifting to nozzle clogs, we’ll cover the most frequent issues faced by Tevo Tarantula users and offer practical solutions to get you back to printing quickly. Whether you’re a beginner or an experienced user, this guide will equip you with the knowledge to maintain your printer and achieve high-quality results. Proper maintenance and troubleshooting are key to a positive 3D printing experience. Keep your Tevo Tarantula in top shape and enjoy creating amazing 3D models!
Common Tevo Tarantula Printing Problems
Before diving into specific issues, it’s crucial to understand that many problems can stem from several sources, including incorrect settings, mechanical issues, and filament quality. Regularly checking your printer’s settings, maintenance schedule, and materials can help you avoid many common pitfalls. Regular visual inspection of your printer, ensuring all belts are tight and the frame is stable is a good practice. Additionally, ensuring you are using the correct temperature settings for your specific filament type and that your bed is properly leveled are crucial first steps in troubleshooting. Keep the filament dry and clean, since moisture and dust can easily affect print quality and cause problems.
Layer Shifting Issues
Layer shifting is a common problem where the printed layers of your model are misaligned, leading to a distorted final product. This issue can manifest as horizontal shifts, where entire layers are offset from their expected position. Diagnosing and fixing layer shifting is a crucial troubleshooting step for any 3D printer user. There are different types of layer shifts and each one is related to distinct causes, which implies different solutions. Always check your model carefully and investigate when the shift occurs on the print.
Understanding Layer Shifting

Layer shifting typically occurs due to mechanical issues. The X, Y, or Z axes, which control the printer’s movement, may encounter resistance or lose steps. This can result in a mismatch between the printer’s intended position and its actual position. The severity of the shift can vary, ranging from slight misalignments to significant distortions, depending on the cause and the degree of the problem. It is important to understand that layer shifting could be related to acceleration, speed or the printer’s own settings.
Troubleshooting Layer Shifting
To troubleshoot layer shifting, first, check the belts on your printer for proper tension. Loose belts are a common culprit. Tighten them as needed, but avoid over-tightening. Check also for any obstructions that may be interfering with the movement of the print head or the build plate. Examine the stepper motor drivers; they might be overheating or malfunctioning. Make sure your printer is placed on a stable surface, as vibrations can also cause shifts. If the problem persists, consider lowering your print speed or reducing acceleration settings in your slicing software to minimize the stress on the printer’s mechanics.
Filament Extrusion Problems
Inconsistent or failed filament extrusion is another frequent issue. This can result in incomplete layers, weak prints, or total print failures. The filament must flow smoothly and consistently through the nozzle for successful printing. There are several factors that can impact the flow of filament, including temperature, the quality of the filament itself, and obstructions in the nozzle. The nozzle itself is also a very important component on the printer and it should be inspected and maintained to ensure smooth and efficient printing.
Identifying Filament Extrusion Issues

Signs of extrusion problems include under-extrusion (where not enough filament is deposited), over-extrusion (where too much filament is deposited), and intermittent extrusion (where the flow stops and starts). Under-extrusion results in gaps or weak spots in the print, while over-extrusion can cause blobs, stringing, and dimensional inaccuracies. Intermittent extrusion is typically a sign of a clog or other obstruction within the hot end or the filament path. Check the condition of the filament carefully, since some filament might contain impurities or be damaged. Poor filament storage is also a potential issue, as it can affect the quality of your prints.
Resolving Extrusion Problems
First, ensure that the nozzle temperature is correct for your filament type. Check the filament spool to make sure it is not tangled. Then, carefully inspect the nozzle for clogs. A simple method is to use the provided nozzle cleaning tool or heat the nozzle and manually extrude a small amount of filament. You may also need to clean the nozzle. If the issue persists, check the extruder gear for wear or damage. Ensure that the extruder gear teeth are gripping the filament properly. If the extruder is slipping, tighten the tension on the extruder arm. If you have just changed the filament, calibrate the extruder steps per mm to ensure the printer extrudes the right amount of material.
Bed Adhesion Difficulties
Poor bed adhesion is a frustrating problem where the first layer of your print does not stick to the print bed. This can lead to the print detaching mid-way through, resulting in failed prints. Proper bed adhesion is essential for ensuring that the rest of the print builds correctly on the initial layer. This issue can be caused by various factors, including improper bed leveling, contamination on the bed surface, and incorrect temperature settings. A well-prepared bed surface is crucial for successful printing.
Causes of Poor Bed Adhesion

Common causes include a bed that is not level, a bed temperature that is too low, or a bed surface that is not clean. A bed that is not level will result in uneven first layers, which makes adhesion difficult. Dust, grease, or fingerprints on the bed surface will also affect adhesion. Furthermore, using an incorrect first-layer height in the slicer can impact adhesion. Some filaments require specific bed temperatures to adhere properly, so check the manufacturer’s recommendations. Ambient conditions can also play a role. If your printer is placed in a drafty location, the bed might cool unevenly.
Solutions for Improving Bed Adhesion
Start by leveling your print bed meticulously. Use a leveling procedure to adjust the bed height at each corner. Clean the bed surface with isopropyl alcohol to remove any oils or residues. Applying a thin layer of glue stick or using painters tape can also help with adhesion. Adjust the bed temperature according to the filament manufacturer’s recommendations. For the first layer, print slower than the rest of your print. Consider using a brim or raft in your slicing settings, which provides a larger surface area for the print to adhere to the bed. Always check the bed level before each print to ensure the best results.
Nozzle Clogging
Nozzle clogging is a prevalent problem where the filament cannot flow freely through the nozzle. This typically results in print failures. Clogs can range from partial obstructions to complete blockages and can be caused by various factors, including filament debris, incorrect temperature settings, or poor filament quality. Nozzle maintenance is one of the most important things to check. Since the nozzle is in direct contact with the material, make sure to keep it clean and working.
Recognizing Nozzle Clogging

Signs of a clogged nozzle include a lack of filament extrusion, inconsistent extrusion, or the appearance of blobs or stringing in your prints. If your printer is extruding filament but the layer lines appear incomplete or patchy, a partial clog might be the cause. If no filament comes out at all, then the clog is likely complete. In some cases, you may hear a clicking sound from the extruder, which indicates that the extruder motor is struggling to push the filament through the nozzle. If you see these signs, it is time to address the nozzle.
Clearing a Clogged Nozzle
The most common method for clearing a clog is to heat the nozzle to the appropriate temperature for the filament and manually extrude. If this doesn’t work, try using the provided nozzle cleaning tool to insert it from the bottom. You can also try the ‘cold pull’ method, where you heat the nozzle, extrude some filament, let it cool slightly, and then pull the filament out to remove the clog. For persistent clogs, you may need to disassemble the hot end and clean it thoroughly. Ensure you follow safety precautions when working with a hot printer. In extreme cases, you may need to replace the nozzle. Preventative maintenance, such as regularly cleaning the nozzle and using high-quality filament, will help to avoid clogs.
Print Quality Problems
Print quality issues encompass a wide range of defects that affect the overall appearance and structural integrity of your prints. These problems can include warping, stringing, surface imperfections, and dimensional inaccuracies. Understanding the causes of these problems and how to fix them is essential for achieving high-quality prints. These issues can often be linked to issues already covered, such as bed adhesion, nozzle clogging, and extrusion problems.
Identifying Print Quality Issues

Common print quality issues include warping (where the print curls up from the bed), stringing (thin strands of filament between parts of the print), and surface imperfections (such as layer lines or blemishes). Dimensional inaccuracies can manifest as prints that are not the correct size or shape. Poor print quality may also include weak layers or cracking. Often, these issues are connected to problems with bed adhesion, temperature, and extrusion. A thorough visual inspection of the print will help pinpoint the specific problem.
Resolving Print Quality Problems
To fix print quality problems, first, ensure that the printer is properly calibrated and maintained. Adjust your print settings, such as temperature, speed, and layer height, to suit the filament being used. For warping, make sure the bed is level and use a brim or enclosure. Reduce stringing by adjusting retraction settings in your slicer software and ensuring that your printing temperature is not too high. If you’re experiencing surface imperfections, check for over-extrusion, ensure proper cooling, and check the printer’s mechanical components for any issues. Optimize your print settings to enhance print quality. By addressing these problems systematically, you can dramatically improve the quality of your prints.
In conclusion, troubleshooting print problems on your Tevo Tarantula 3D printer can be challenging. However, by following these top 5 troubleshooting tips, you can effectively diagnose and resolve common issues. Remember to always start with the basics and check bed leveling, temperature settings, and filament quality. By understanding the causes of these problems and applying these solutions, you will be well on your way to successful and high-quality 3D prints with your Tevo Tarantula. Don’t get discouraged by initial failures; with practice and the right knowledge, you can achieve excellent results with your printer.