Tevo Tarantula Touch Screen Basics
The Tevo Tarantula 3D printer, a popular choice among hobbyists, can be significantly enhanced with a touch screen interface. This upgrade provides a more user-friendly experience compared to the traditional LCD screen and control knob. A touch screen streamlines navigation, simplifies print job management, and offers visual feedback on printer status. The purpose of this article is to provide a comprehensive guide to setting up your Tevo Tarantula with a touch screen. We will cover everything from component identification to software configuration and calibration, ensuring you can enjoy the benefits of this upgrade. Following these steps will empower you to control your 3D printing with ease. This article is designed for both beginners and experienced users, the step-by-step approach aims to simplify the installation process.
Understanding the Touch Screen Components
Before diving into the setup, it’s important to understand the components that make up the touch screen system. This knowledge helps in identifying parts and troubleshooting any potential issues during the installation process. Typically, the touch screen upgrade kit includes the touch screen display itself, connecting cables, and potentially a control board interface, depending on the model. These components work together to allow user interaction with the printer’s functions.
Touch Screen Display

The touch screen display is the primary interface for controlling your Tevo Tarantula. It provides a visual representation of the printer’s status, allows you to initiate prints, adjust settings, and monitor the progress of your 3D models. The display is usually a color LCD screen with touch-sensitive capabilities. Ensure that the display is in good condition and free from any physical damage before installation. Checking the screen before starting the setup helps avoid potential frustrations and saves time down the road. (See image: touchscreen-display-tevo)
Control Board Connection
The control board connection is a critical component that bridges the touch screen display with the printer’s main board. This connection allows the touch screen to send commands to the printer and receive status updates. Usually, the touch screen kit includes a dedicated interface board or requires connecting the touch screen directly to the main control board of the printer. Carefully examine the connectors and ensure they match the specifications for your Tevo Tarantula model. Incorrect connections can cause the touch screen to malfunction or damage the printer’s components. (See image: control-board-connection-tevo)
Step-by-Step Touch Screen Setup
This section guides you through the practical steps of setting up your Tevo Tarantula touch screen. Following this step-by-step guide will ensure a successful installation. Each step is carefully crafted to be easy to follow, making it easier to enjoy the benefits of your touch screen upgrade.
Hardware Installation

Hardware installation involves physically mounting the touch screen and connecting the necessary cables. This includes securing the touch screen to the printer’s frame and linking it to the control board. Pay close attention to the instructions that come with the touch screen kit. This will ensure that you install all the components correctly. Proper hardware setup lays the foundation for the subsequent software configuration steps.
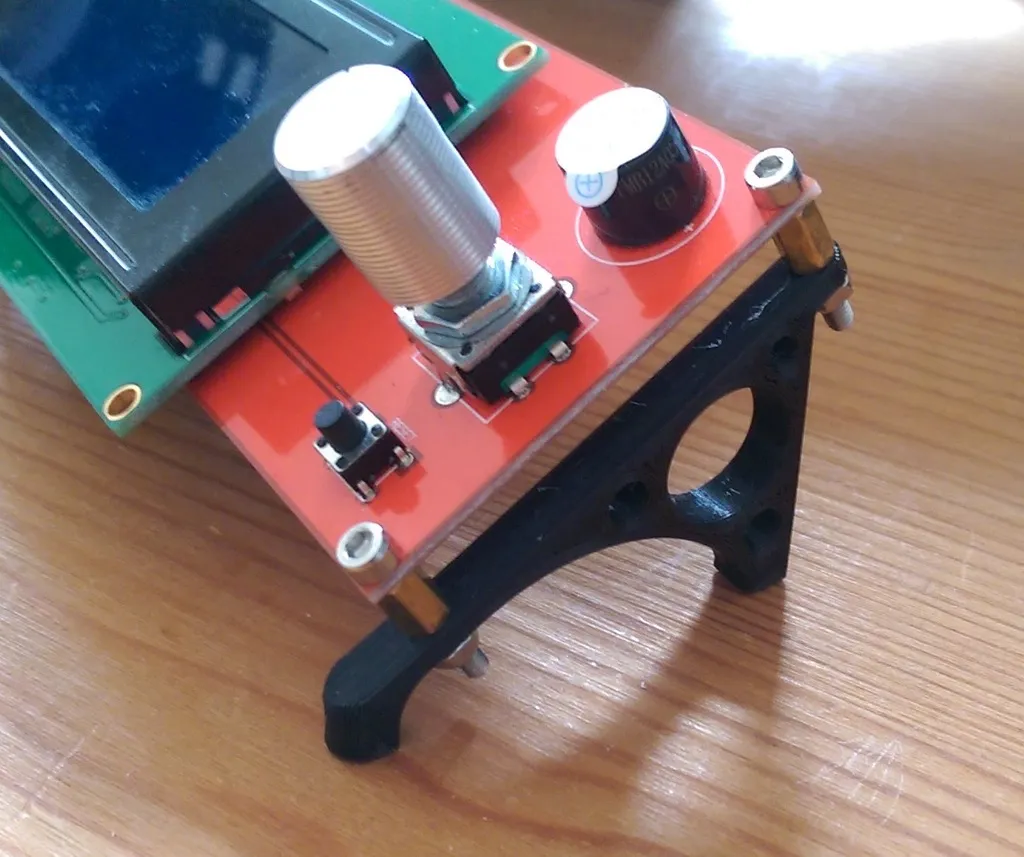
Mounting the Touch Screen
The first step in hardware installation is to mount the touch screen to your Tevo Tarantula. The mounting method varies depending on the touch screen kit and the printer’s frame. This typically involves using screws, brackets, or adhesive pads. Ensure the touch screen is securely fixed and easily accessible. Consider the viewing angle and ergonomics to ensure a comfortable user experience. Double-check that the touch screen is stable. (See image: mounting-touchscreen-tevo)
Connecting the Cables
After mounting the touch screen, the next step is to connect the cables. This involves connecting the display to the control board. Most kits include specific cables and connectors designed to fit your Tevo Tarantula. Carefully plug the cables into their corresponding ports, ensuring a secure connection. Refer to the instructions provided with your kit to determine the correct orientation of the connectors. Improperly connected cables can prevent the touch screen from working or damage its components. Ensure that all connections are firm and that no wires are pinched or strained. (See image: connecting-cables-tevo)
Software Configuration

Once the hardware is set up, you need to configure the software. This involves installing the appropriate firmware on the control board. This ensures the printer can communicate with the touch screen. Follow the instructions carefully, as incorrect flashing of the firmware can cause issues. Firmware plays a key role in the smooth operation of the system.
Flashing the Firmware
Flashing the firmware involves uploading the correct software to the printer’s control board. This process usually requires a computer and a USB cable. Download the appropriate firmware for your Tevo Tarantula and touch screen from the manufacturer’s website. Use the software recommended by the kit’s instructions to upload the firmware. Make sure your printer is powered during the flash. This process can take a few minutes. Once completed, the printer should recognize the touch screen interface. (See image: flashing-firmware-tevo)
Configuring Touch Screen Settings
After the firmware is flashed, you may need to configure the touch screen settings. This usually involves adjusting display settings, such as brightness and contrast, and configuring the user interface to suit your preferences. These settings are typically accessible through the touch screen interface. Experiment with the settings to optimize the user experience. Fine-tuning settings ensures that the interface is easy to read and use.
Calibrating the Touch Screen

Calibration is a crucial step to ensure accurate touch input. The touch screen must be calibrated for the touch input to align properly with the displayed items. Calibration ensures that touching a specific point on the screen corresponds to the correct action. Proper calibration improves usability and accuracy, allowing you to interact with the printer controls precisely.
Calibration Process
The calibration process usually involves touching specific points on the screen as prompted by the interface. The touch screen will display calibration targets, and you will tap these targets to register the touch points. The software then calculates and adjusts the touch input. Calibration may need to be repeated if the touch response is inaccurate. After completing calibration, test the touch screen by navigating through the menus and functions to ensure the touch input is accurate and responsive. (See image: touchscreen-calibration-tevo)
Troubleshooting Common Issues
Encountering issues during the setup is common. Knowing how to troubleshoot can save you time. This section covers the common problems and provides the solutions. By following these troubleshooting tips, you can quickly address and resolve common issues, ensuring the successful operation of your touch screen.
Touch Screen Not Responding

If the touch screen is not responding, first check the power connection and ensure the touch screen is turned on. Next, verify the cable connections between the touch screen and the control board, ensuring they are secure and properly seated. Firmware issues can also cause the touch screen to be unresponsive. Check if the firmware is correctly flashed. If the issue persists, try recalibrating the touch screen or consulting the manufacturer’s documentation for specific troubleshooting steps. In some cases, a faulty touch screen or control board interface may need to be replaced. (See image: troubleshooting-tevo-touchscreen)
Display Issues
Display issues such as a blank screen, distorted images, or incorrect colors indicate a problem with the screen’s connection or configuration. Make sure the display cable is correctly connected to the control board and the touch screen. Incorrect firmware settings can cause display issues. Ensure that the firmware is compatible with the display and the control board. Adjusting the display settings through the touch screen menu may resolve issues. Check the display cable for any physical damage. If the issue persists, consider consulting the manufacturer or replacing the display.
Connectivity Problems
Connectivity problems might involve the touch screen not communicating with the printer’s control board. This could be due to incorrect wiring, firmware compatibility issues, or a problem with the control board. Check all wiring connections between the touch screen and the control board. Make sure the firmware is compatible with both the touch screen and the control board. Resetting the printer to its default settings can sometimes resolve connectivity issues. If problems persist, it might be a problem with the control board itself.
Optimizing Your Tevo Tarantula Touch Screen

Once your touch screen is set up, you can optimize its performance for better print quality and a more personalized user experience. Tuning your touch screen setup can greatly improve the functionality and convenience, making it more enjoyable and effective for your printing tasks.
Improving Print Quality
While the touch screen mainly controls the user interface, you can still use it to monitor and improve print quality. During printing, the touch screen displays real-time information about the printing process, such as the progress, temperature, and remaining time. You can monitor the printing process using the touch screen. The touch screen lets you adjust settings. The control settings through the interface can help you adjust and fine-tune your print jobs.
User Interface Customization
The touch screen’s user interface can often be customized to suit your preferences. Many touch screen interfaces let you rearrange the elements, adjust the color scheme, and customize the information displayed. You can customize settings, improve the ease of use, and optimize the interface to match your workflow. Check your touch screen’s manual to find the customization options available.
Maintenance and Care Tips

Maintaining the touch screen will ensure a long lifespan and consistent performance. Proper care ensures that the touch screen performs consistently, allowing you to manage your 3D printing projects without interruption. Taking preventative measures and regularly maintaining the system are the keys to a functional system.
Clean the touch screen regularly to remove dust and fingerprints. Use a soft, lint-free cloth to wipe the screen gently. Avoid harsh chemicals. Inspect the cables periodically for damage. Regularly check all the connections to make sure they are secure. Follow the manufacturer’s recommended cleaning instructions.
In conclusion, upgrading your Tevo Tarantula 3D printer with a touch screen is a valuable enhancement that significantly improves user experience. By following the detailed steps outlined in this guide, you can successfully install and configure the touch screen, allowing for simplified operation and enhanced control of your 3D printing projects. Troubleshooting and maintenance tips will help you keep the touch screen working well. The Tevo Tarantula touch screen setup offers enhanced capabilities and more enjoyable 3D printing.